Cameras
Hands-on training is available for the resources listed below. Please call the Classroom Support Hotline for your campus.
![]() MCV: (804) 828-3400
MCV: (804) 828-3400
MPC: (804) 828-1098

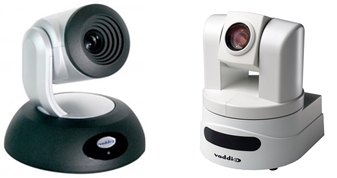
Classroom system cameras integrate in a variety of ways, and typically have the ability to be set up for a desired condition or for a specific application.
NOTE: The document cameras featured in our centrally supported classrooms are also available for daily checkout from the VCU IT Support Center locations.
The Epson DC-20 has been selected as the standard document camera for centrally scheduled classrooms. This HD camera is perfect for:
- showing small details on objects brought into the classroom
- showing live written notes
To use the document camera with the podium system, follow these steps:
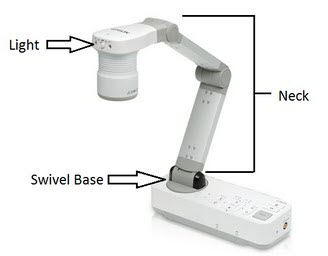
Adjust the camera by bending the joints of the camera's neck to different settings.
- 3 joints: 1 at the head of the camera, 1 in the middle of the neck, and 1 at the swivel base.
- There is also an on-board light switch found on the front of the camera's head.

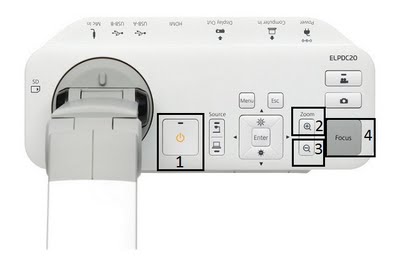
- Power Button: Make sure the document camera is powered on. If the LED light on top of the power button (#1 above) is amber, the document camera is in standby mode. If the LED is green, the camera is powered on and ready to be used.
- Zoom (+) in: Use this button to zoom in on your subject. Once zoom has been set as desired, proceed to step 4.
- Zoom (-) out: Use this button to zoom out from your subject. Once zoom has been set as desired, proceed to step 4.
- Focus Button: Press this button if your subject looks blurry as a result of a change in the zoom setting or camera neck adjustment.